
The tools the Hair Utils shelf let you quickly set up hair and fur objects, jump between objects, as well as animate and simulate. The tools on the Guide Process tab are used to style the fur, as they let you influence the placement and orientation of guide hairs by painting skin attributes.
Tip
The hair and fur tools often process large VEX arrays. If you observe memory issues, consider setting the HOUDINI_VEX_MEMORYCACHESIZE environment variable to 1.
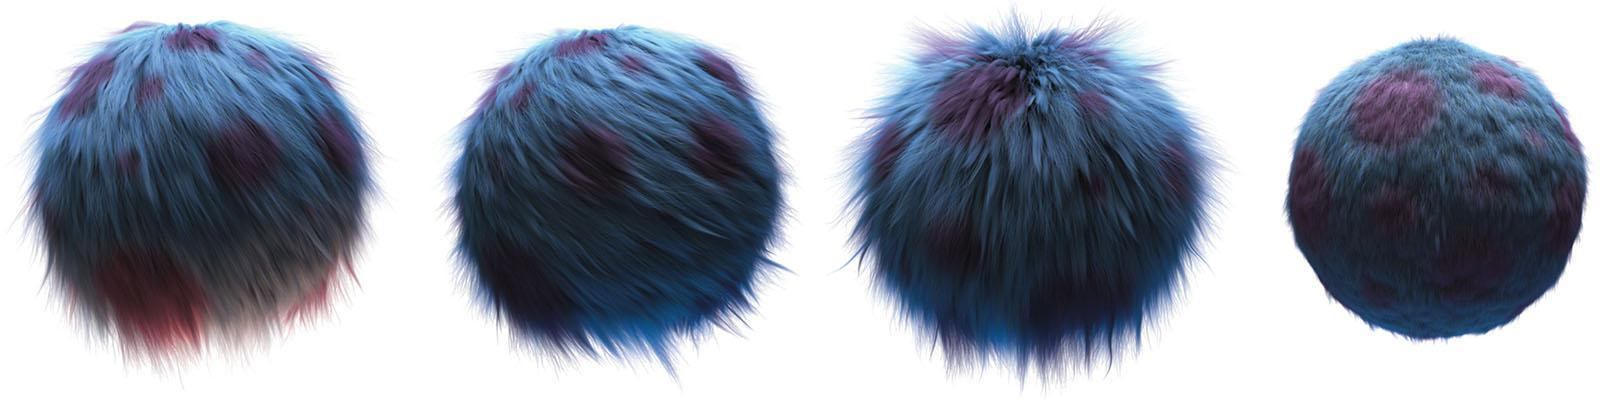
To create fur, start with a piece of geometry and use the Add Fur tool on the Hair Utils shelf. By default, two nodes are created: Guide Groom and Hair Generate.

The Guide Groom and Hair Generate networks have the exact same set up with the exact same workflow, except the hair generation network has less outputs. This makes it very simple to use, since everything is done in SOPs with curves. The Guide Process node lets you layer many different operations, and very easily control where the operation takes place along the curve using ramps or by painting attributes on the skin. This allows you to easily create natural looking hair and fur very quickly.
One improvement is that there is no longer a separation between manipulating guide curve geometry or painting skin attributes. Everything flows through a single graph. All of the components that make up the groom are displayed in a single network. Each of the nodes also have at least 3 inputs and 3 outputs, which allows the 3 types of data to flow through the nodes. This results in a very clean and easy to read network, and eliminates the need to reference other nodes. Another advantage is that the operators can be placed in any order, which gives you complete control and flexibility.
Note:
Mantra uses the SOP network you create to do the grooming and does the cooking of the node network (SOP network) at render time. It does this without taking a license, which allows for rendering with Engine for hair, fur, and anything else thatвҖҷs comprised of curves and points (grass).
Note:
Grooming should always be done on the static mesh, not the animated mesh.


