1гҖҒ How does Geomagic Wrap process iSense data?
Firstly, the data scanned by iSense may not be very "clean", meaning there are often some noise and missing areas that need to be cleaned and repaired.
Here are a few basic steps to ensure that you can organize data clearly and accurately:
Import data
Open the Geomagic Wrap software, click on the "File" option on the interface, and then select "Import". Find the data file you scanned with iSense, which may be in STL or OBJ format. After selecting it, click "Open" and the file will be loaded into the software. Basically, the software will automatically recognize the format of the file, you just need to ensure that the data is correct.
Check data
After importing data, don't rush to operate, check the entire model first. You can use rotation, zooming in or out to view the details of the data, to see if there are any missed areas or unnecessary parts during scanning. If there are any issues, you can mark them first for easy handling in the future.
Eliminate noise
After the data check is completed, the next step is to denoise. During scanning, iSense sometimes generates some useless points, affecting the accuracy of the entire model. Geomagic Wrap has a 'noise removal' tool that can help you clean up these points. Adjust the threshold for noise reduction and click "Delete" to easily remove excess noise.
Fill in the missing parts
If there are missing parts in the scanned data, don't worry, Geomagic Wrap also has repair tools. Select the missing areas, click 'Repair', and the software will automatically fill these gaps. This process is not only fast, but also has a natural filling effect.
Smooth surface
The surface of the scanned data may be slightly uneven, which affects subsequent use. You can choose the 'Smooth' tool to make the surface smoother. Adjust the intensity of the smoothness, find the appropriate parameters, click apply, and the surface will become smoother and look more professional.
Save data
When all operations are completed, remember to save your work results! Click on "File" ->"Save" or "Save As" to ensure that the file is saved properly for future use or export.
These steps can help you organize iSense data from its raw state into a more suitable format, facilitating subsequent modeling or other processing work.

Figure 1: Data Processing of iSense
2гҖҒ What are the processes for handling geometricwrap points?
Next, let's talk about cloud data processing. The purpose of processing point cloud data is to ensure that the data is both accurate and efficient, especially when modeling, to ensure that every detail is as clear as possible.
So, here are a few steps in the process of point cloud processing:
Import point cloud data
Open Geomagic Wrap, click on "File" ->"Import", select your point cloud data file, common formats include PTS, ASC, etc. After importing, you can see the data structure of the entire point cloud. Remember to carefully check and confirm if there are any issues with the data, such as redundant points or missing areas.
Point cloud alignment
If you have scanned point cloud data from multiple angles or different positions, you need to align them next. Geomagic Wrap provides two ways of alignment: automatic alignment and manual alignment. If the amount of data is small, it can be manually aligned directly; If it is relatively large, it is recommended to use automatic alignment for fast and efficient operation.
Remove excess points
There are often many useless points in point cloud data, which not only occupy space but also affect subsequent processing. By using Geomagic Wrap's denoising tool, these redundant points can be removed. Set the noise threshold and click "Delete" to easily remove these redundant data.
Simplify point cloud
Simplifying data is essential when dealing with large-scale point cloud data. Too many points will make the entire operation slow. You can use the 'Simplify Point Cloud' feature to reduce the number of points, which will make the subsequent modeling and analysis faster and smoother.
Supplement missing data
If there are any missed parts during the scanning process, you can use Geomagic Wrap's "repair" tool. Select the missing parts and click 'Repair'. It will automatically fill in the missing data to ensure the integrity of the model.
Convert to grid
After cleaning the point cloud data, it can be converted into a grid. Click on the "Mesh" tool, set the mesh size, and Geomagic Wrap can convert the point cloud into a 3D mesh model for easy subsequent operations.
Save processing results
After completing all operations, remember to save the file. Click on "File" ->"Save" to save the cleaned point cloud data for future use.
These steps mainly involve cleaning and optimizing point cloud data to ensure that your model data is clean and suitable for subsequent modeling or analysis work.
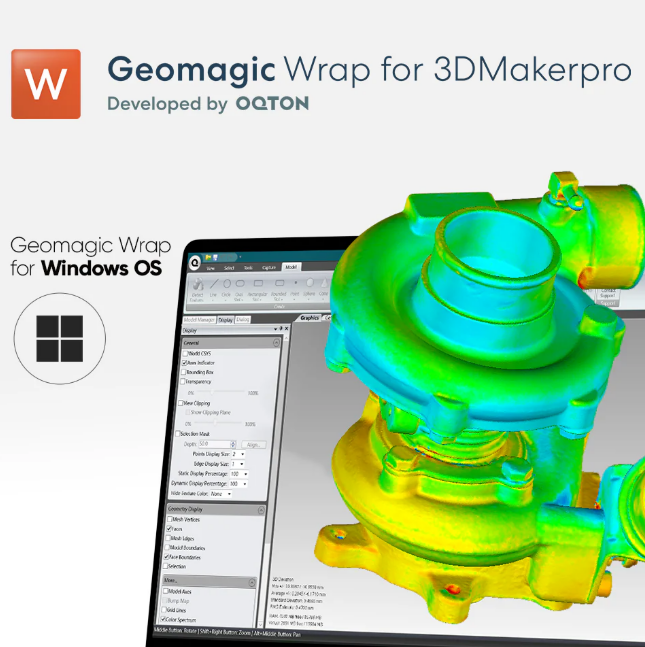
Figure 2: Point Processing
3гҖҒ How to remove boundaries in Geomagic Wrap
Sometimes the scanned model may have some unnecessary parts at the boundary, which affects the overall effect.
The following are the steps to remove these redundant boundaries:
Select the boundary to delete
Find the excess boundary data in the model, use the Geomagic Wrap selection tool, and click to select these unnecessary boundary areas. You can manually circle with the mouse or use the software's automatic selection function to quickly select unnecessary parts.
Set deletion range
Be careful when deleting, do not accidentally delete other important areas. You can adjust the size and scope of the deletion area to ensure that only the redundant parts of the boundary are deleted. Geomagic Wrap supports partial deletion, allowing you to precisely control the deleted area and avoid affecting other areas.
Remove redundant boundaries
After adjusting the deletion range, click the delete button, and Geomagic Wrap will automatically remove these redundant boundaries. After completion, remember to check to ensure that only the excess parts have been deleted.
Fix the blank area after deletion
After removing the boundary, the model may leave blank areas. Don't worry, you can use the 'repair' function to automatically fill these gaps and ensure the integrity of the model.
The operation of deleting boundaries is actually not complicated, the key is to ensure that the deleted redundant parts are unnecessary, while avoiding affecting the integrity of the entire model.
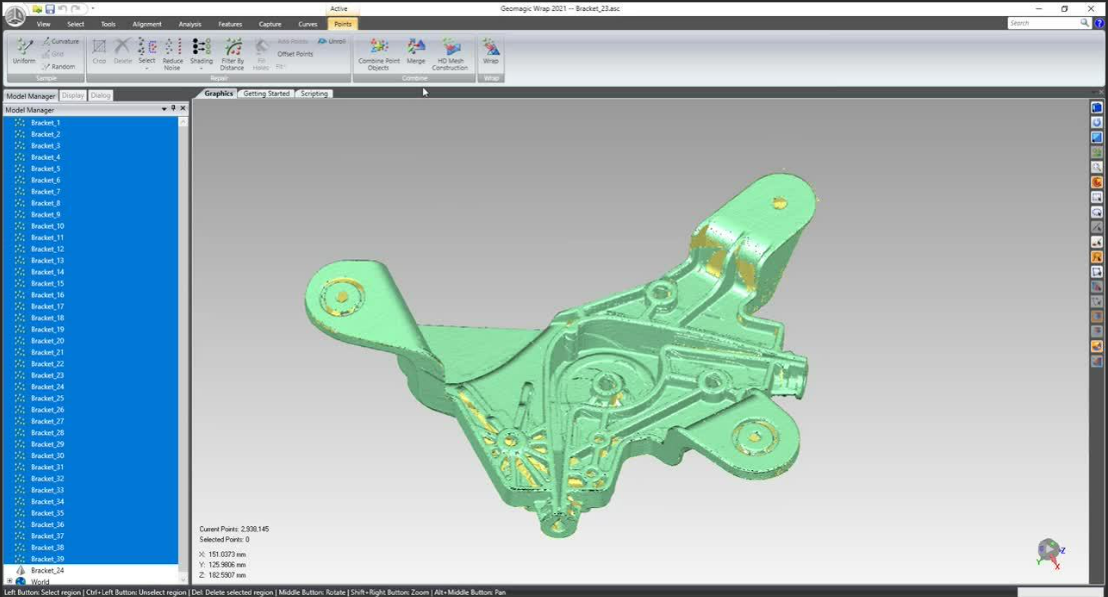
Figure 3: Delete Boundary

